How to Replace the Balance in Your -Hung Window
Your window won’t stay open, or the sash lifts on its own. These occurrences may be a sign that the balance system in your -hung window needs to be replaced! The balance system is a crucial component that helps your sash operate smoothly, and safely.
This step-by-step guide walks you through how to remove the existing balance and correctly install the new one.
When Should You Replace a Balance System?
Your window may need a new balance system if:
- The sash is difficult to lift.
- The sash won’t stay open.
- The sash rises without you touching it.
These are indicators that the current balance is worn out.
Tools You’ll Need:
- Flathead screwdriver
- Phillips head screwdriver
- Replacement balance system
Step 1: Remove the Sash

Open your window a few inches, then tilt the sash in at a 90-degree angle and remove it from the frame.

Use the following diagram to help you complete the replacement below.
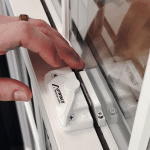
Step 2: Move the Balance into the Knockout

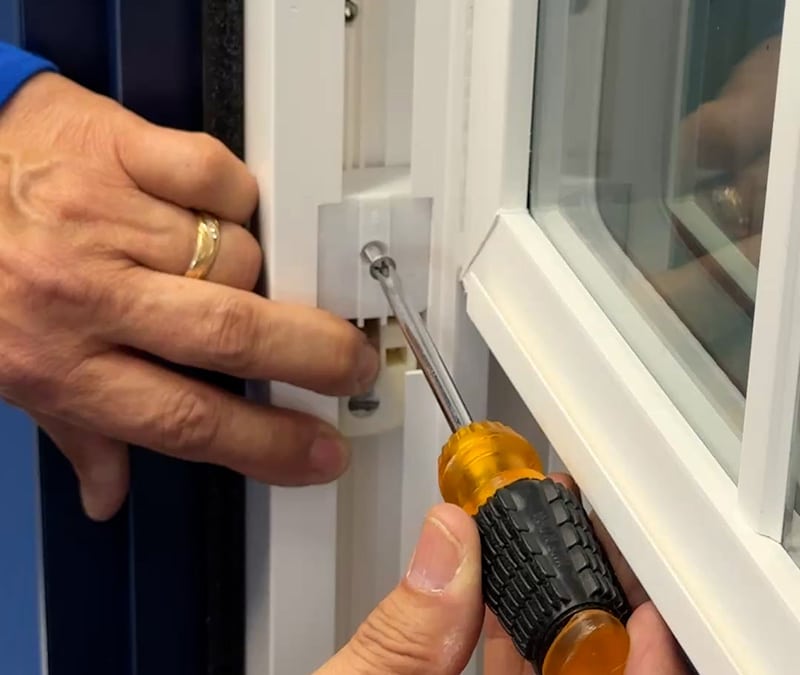
Insert the screwdriver into the cam of the balance and turn it 90 degrees, then lift it into the knockout.
Keep a firm grip on the screwdriver when engaging or disengaging the clutch to prevent injury or damage to the window balance or frame.
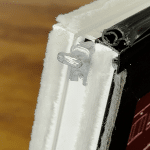
Step 3: Remove the Balance

Remove the center screw holding the balance in place. Large windows may have two screws, remove both if present. Carefully tilt the coil out first, then remove the clutch.
Step 4: Confirm Your Replacement Balance

Make sure the rating number on the new balance matches the number on your existing balance. Installing an incorrectly rated balance can cause the sash to fly open or make it difficult to operate. If the numbers don’t match, contact Viwinco Customer Service at 800-927-2848 for assistance.
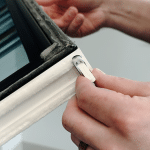
Step 5: Install the New Balance

Replace the balance. Start by inserting the clutch into the cutout, ensuring that the coil is facing the interior of the house. Then, align the balance with the screw hole on the frame and reinstall the screw. Be careful not to strip the screw!
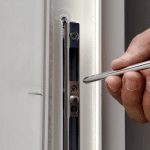
Step 6: Prep the Cam for the Sash

Insert the screwdriver into the cam once the new balance is installed and pull it down until it sits just below the top-sash stopper. Then, rotate the cam counterclockwise 90 degrees so it’s ready to receive the sash pivot pins.
**Repeat steps 3 through 6 for both the left and right balances.

Receiving Position Diagram

Level Balance Diagram
Step 7: Reinstall the Sash

Align the sash pivot pins with the prepped cams and tilt the sash back into place. Test the sash by lifting and lowering it to ensure smooth movement.
If you have any questions about replacing the balance system in your -hung window, our customer service team is here to help. For troubleshooting, maintenance tips, or product support, contact our customer service at 800-927-2848.