Installer Guide: Replacing the Top Sash in a Viwinco Single-Hung
In some situations, such as a broken insulated glass unit or seal failure, it may be necessary to remove the top sash from a single-hung window for repair or replacement.
Replacement parts can be ordered through the distributor where the window was purchased or through parts.viwinco.com via service claim.
This procedure is intended for installation by professionals and service technicians who need to remove the top sash of a Viwinco single-hung window.
Tools You’ll Need:
- Suction Cup Lifter
- Phillips head screwdriver
- Chisel
Step 1: Preparing the Window

To begin, remove the bottom sash and screen from the window and set them aside. Then, attach suction cups to the center of the top sash. This will help you safely remove the sash later in the process.
Step 2: Remove the Top Sash


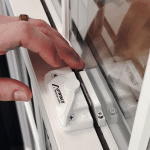
Start by removing the right side bracket, starting with the two screws connecting the bracket to the top sash, then the screw connecting the bracket to the jamb,
Once the screws are removed, pull straight down on the bracket to disengage it from the sash.
Move to the left side and remove the screw that connects the bracket to the jamb.
Using the suction cups, carefully pull the top sash downward and guide it out of the frame.
Make sure to maintain a secure grip on the top sash at all times. Do not let go once it has been unscrewed, as impact sashes will be heavier.
Step 3: Prepare the Sash for Reinstallation

If you are installing a new top sash, the brackets will already be attached and ready for installation.
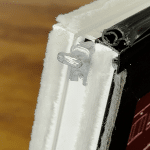
If you are reinstalling the existing sash, use a chisel to clear any debris from the bracket channel to ensure a proper fit.
Step 4: Reinstall the Top Sash


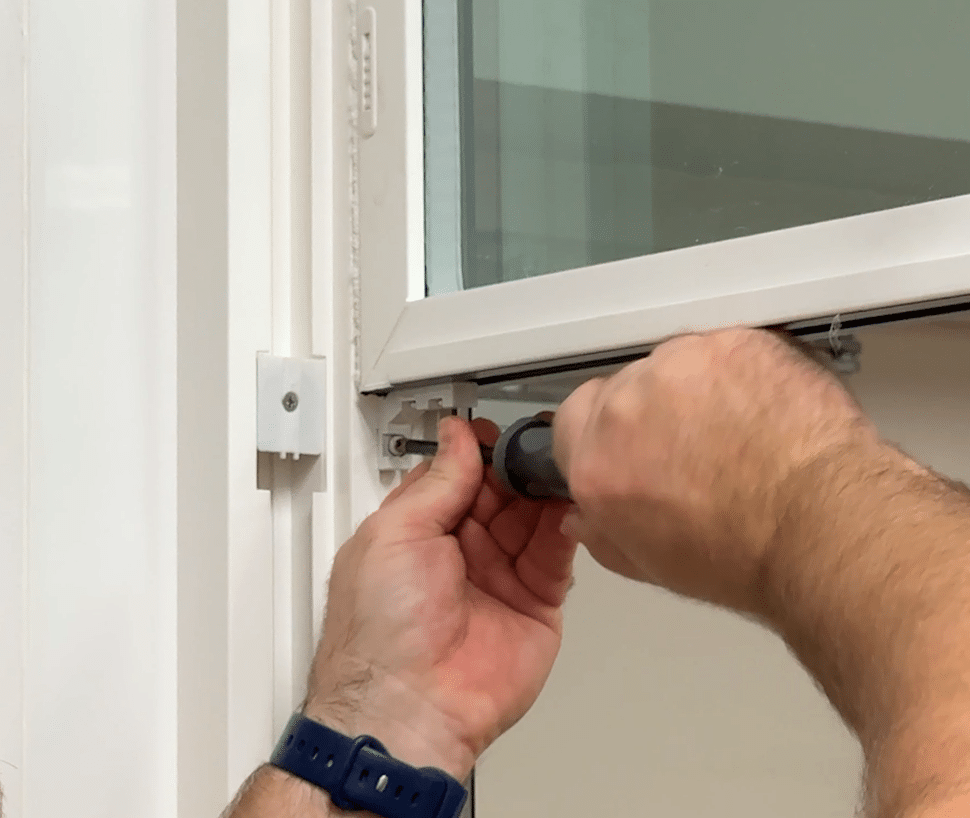
First, slide the top sash back into the window frame. Then secure the left-side bracket to the jamb first.
For the right-side bracket, if using a new sash with the brackets pre-installed, secure the bracket directly to the jam, If reinstalling the existing sash, slide the bracket into the channel, then fasten it starting with the jamb screw, followed by the sash screws.
Make sure to maintain a secure grip on the top sash at all times until it is firmly screwed into the frame.
Step 5: Finish
Once the sash is secure, reinstall the screen and close and lock the window to confirm proper operation.
Need Assistance?
If you have any questions about replacing the top sash in your single-hung window, our customer service team is here to help. For troubleshooting, maintenance tips, or product support, contact our customer service at 800-927-2848.