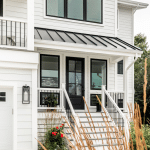
Installer Guide: Locating the Warranty Label on a Viwinco Picture Window (Glazing Bead Removal)
This procedure is intended for installation professionals and service technicians who need to remove the picture window glazing bead to access the warranty label on a Viwinco picture window for warranty registration or filing a warranty claim.
Before proceeding, note that removing the glazing bead may not be necessary. If you have other window styles from the same original order, such as a double hung or casement window, you can use the warranty label and order number from one of those windows. The order number is the same for all windows within the same order.
If the glazing bead does need to be removed and you are a homeowner filing a warranty claim, we strongly recommend that a trained professional perform this work. A trained professional should remove the glazing bead because improper removal can damage the glazing bead, glass, or window frame. Incorrect handling may also affect the seal and overall performance of the window. Professionals have the proper tools and experience to safely remove and reinstall the glazing bead without causing damage or compromising the window.
On Viwinco picture (fixed) windows, the warranty label is located on the underside of the glazing bead. Accessing the label requires careful removal of the glazing bead. The correct removal location depends on the specific window profile.
Below, we will explain how to identify your picture window profile and where to locate the warranty label for each version.
Note: Determine the location of your picture window before proceeding. If the window is not easily accessible, you may use the warranty label and order number from any other window included in the same original order to register your warranty or file a warranty claim.
Identifying Your Picture Window Profile
The location of the warranty label differs based on the picture window profile used at the time of manufacturing.
- Windows purchased on or after September 19, 2025 use Viwinco’s new picture window profile
- Windows purchased before September 19, 2025 use Viwinco’s original picture window profile
Warning: This procedure is intended for trained installation professionals and service technicians. Viwinco strongly recommends that homeowners contact a qualified window professional to perform this work. Please take extra precaution if the picture window is located in a hard-to-reach area or at an elevated height. Proceed at your own risk. Viwinco is not responsible for damage or injury resulting from improper removal or reinstallation of the glazing bead.
What is a Glazing Bead?
The glazing bead is a narrow strip of vinyl that helps seal the glass inside the window frame. It plays an important role in energy efficiency and keeps the glass securely positioned within the window. For the Viwinco picture window, the warranty label is located on the underside of this glazing bead.
Accessing the Warranty Label on Viwinco Picture Windows
Removing the Glazing Bead
On Viwinco picture windows, the warranty label is located on the underside of the glazing bead. The steps to access it are nearly identical across profiles, with one key distinction.
- New Picture Window Profile. Windows purchased on or after September 19, 2025: remove the glazing bead from the exterior of the window
- Original Picture Window Profile. Windows purchased before September 19, 2025: remove the glazing bead from the interior of the window
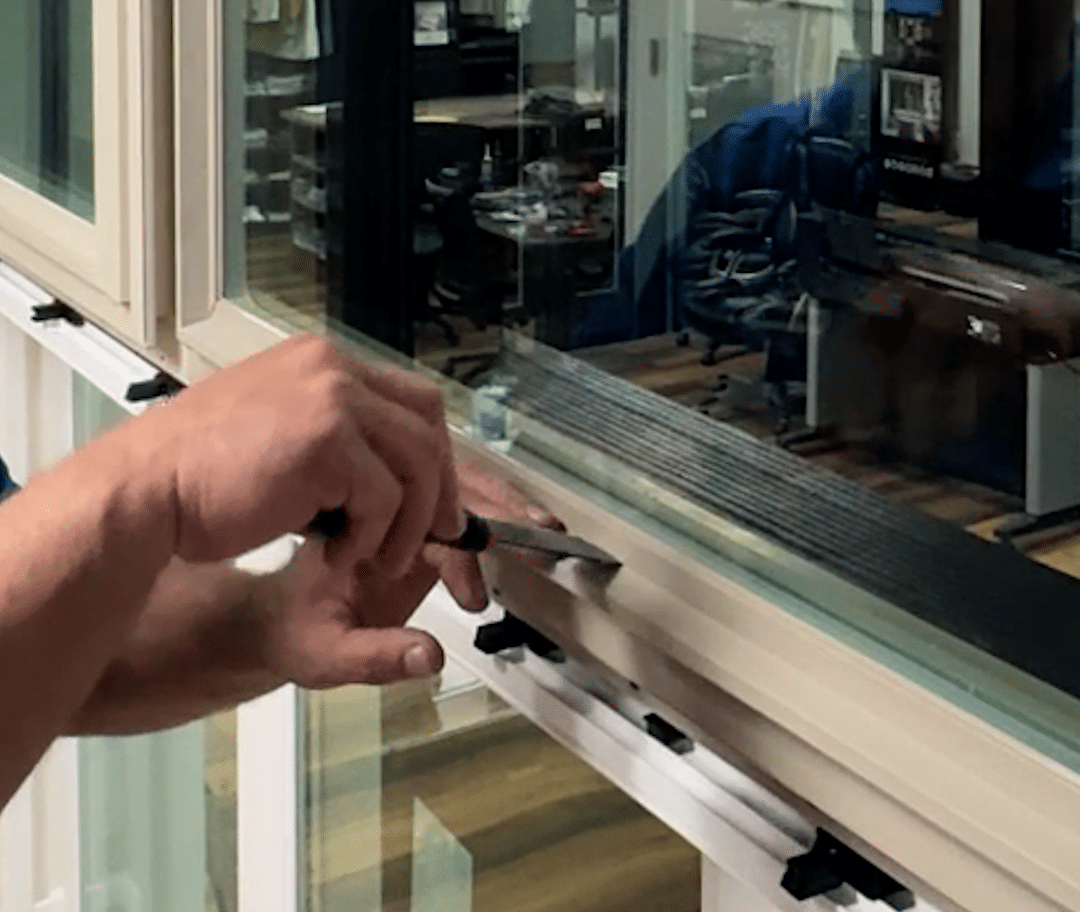
To Access the Warranty Label (Remove Glazing Bead)
- Using a putty knife or spatula, gently tap under the bottom edge of the glazing bead.
- Remove from the exterior or interior of the window, depending on the picture window profile.
- Carefully pry the glazing bead up, and away from the frame.
- Locate the warranty label on the underside of the glazing bead and record the required information for warranty registration or filing a claim.
To Reinstall the Glazing Bead
- Position the glazing bead by inserting the edges into the corners of the window frame.
- Press the center of the bead into place.
- If needed, lightly tap along the bead using a plastic or rubber mallet to ensure it is fully seated.
Technical Support
For additional clarification or technical assistance, contact Viwinco Customer Service at 800-927-2848