Installer Guide: How To Assemble & Install the 650 Patio Door Screen
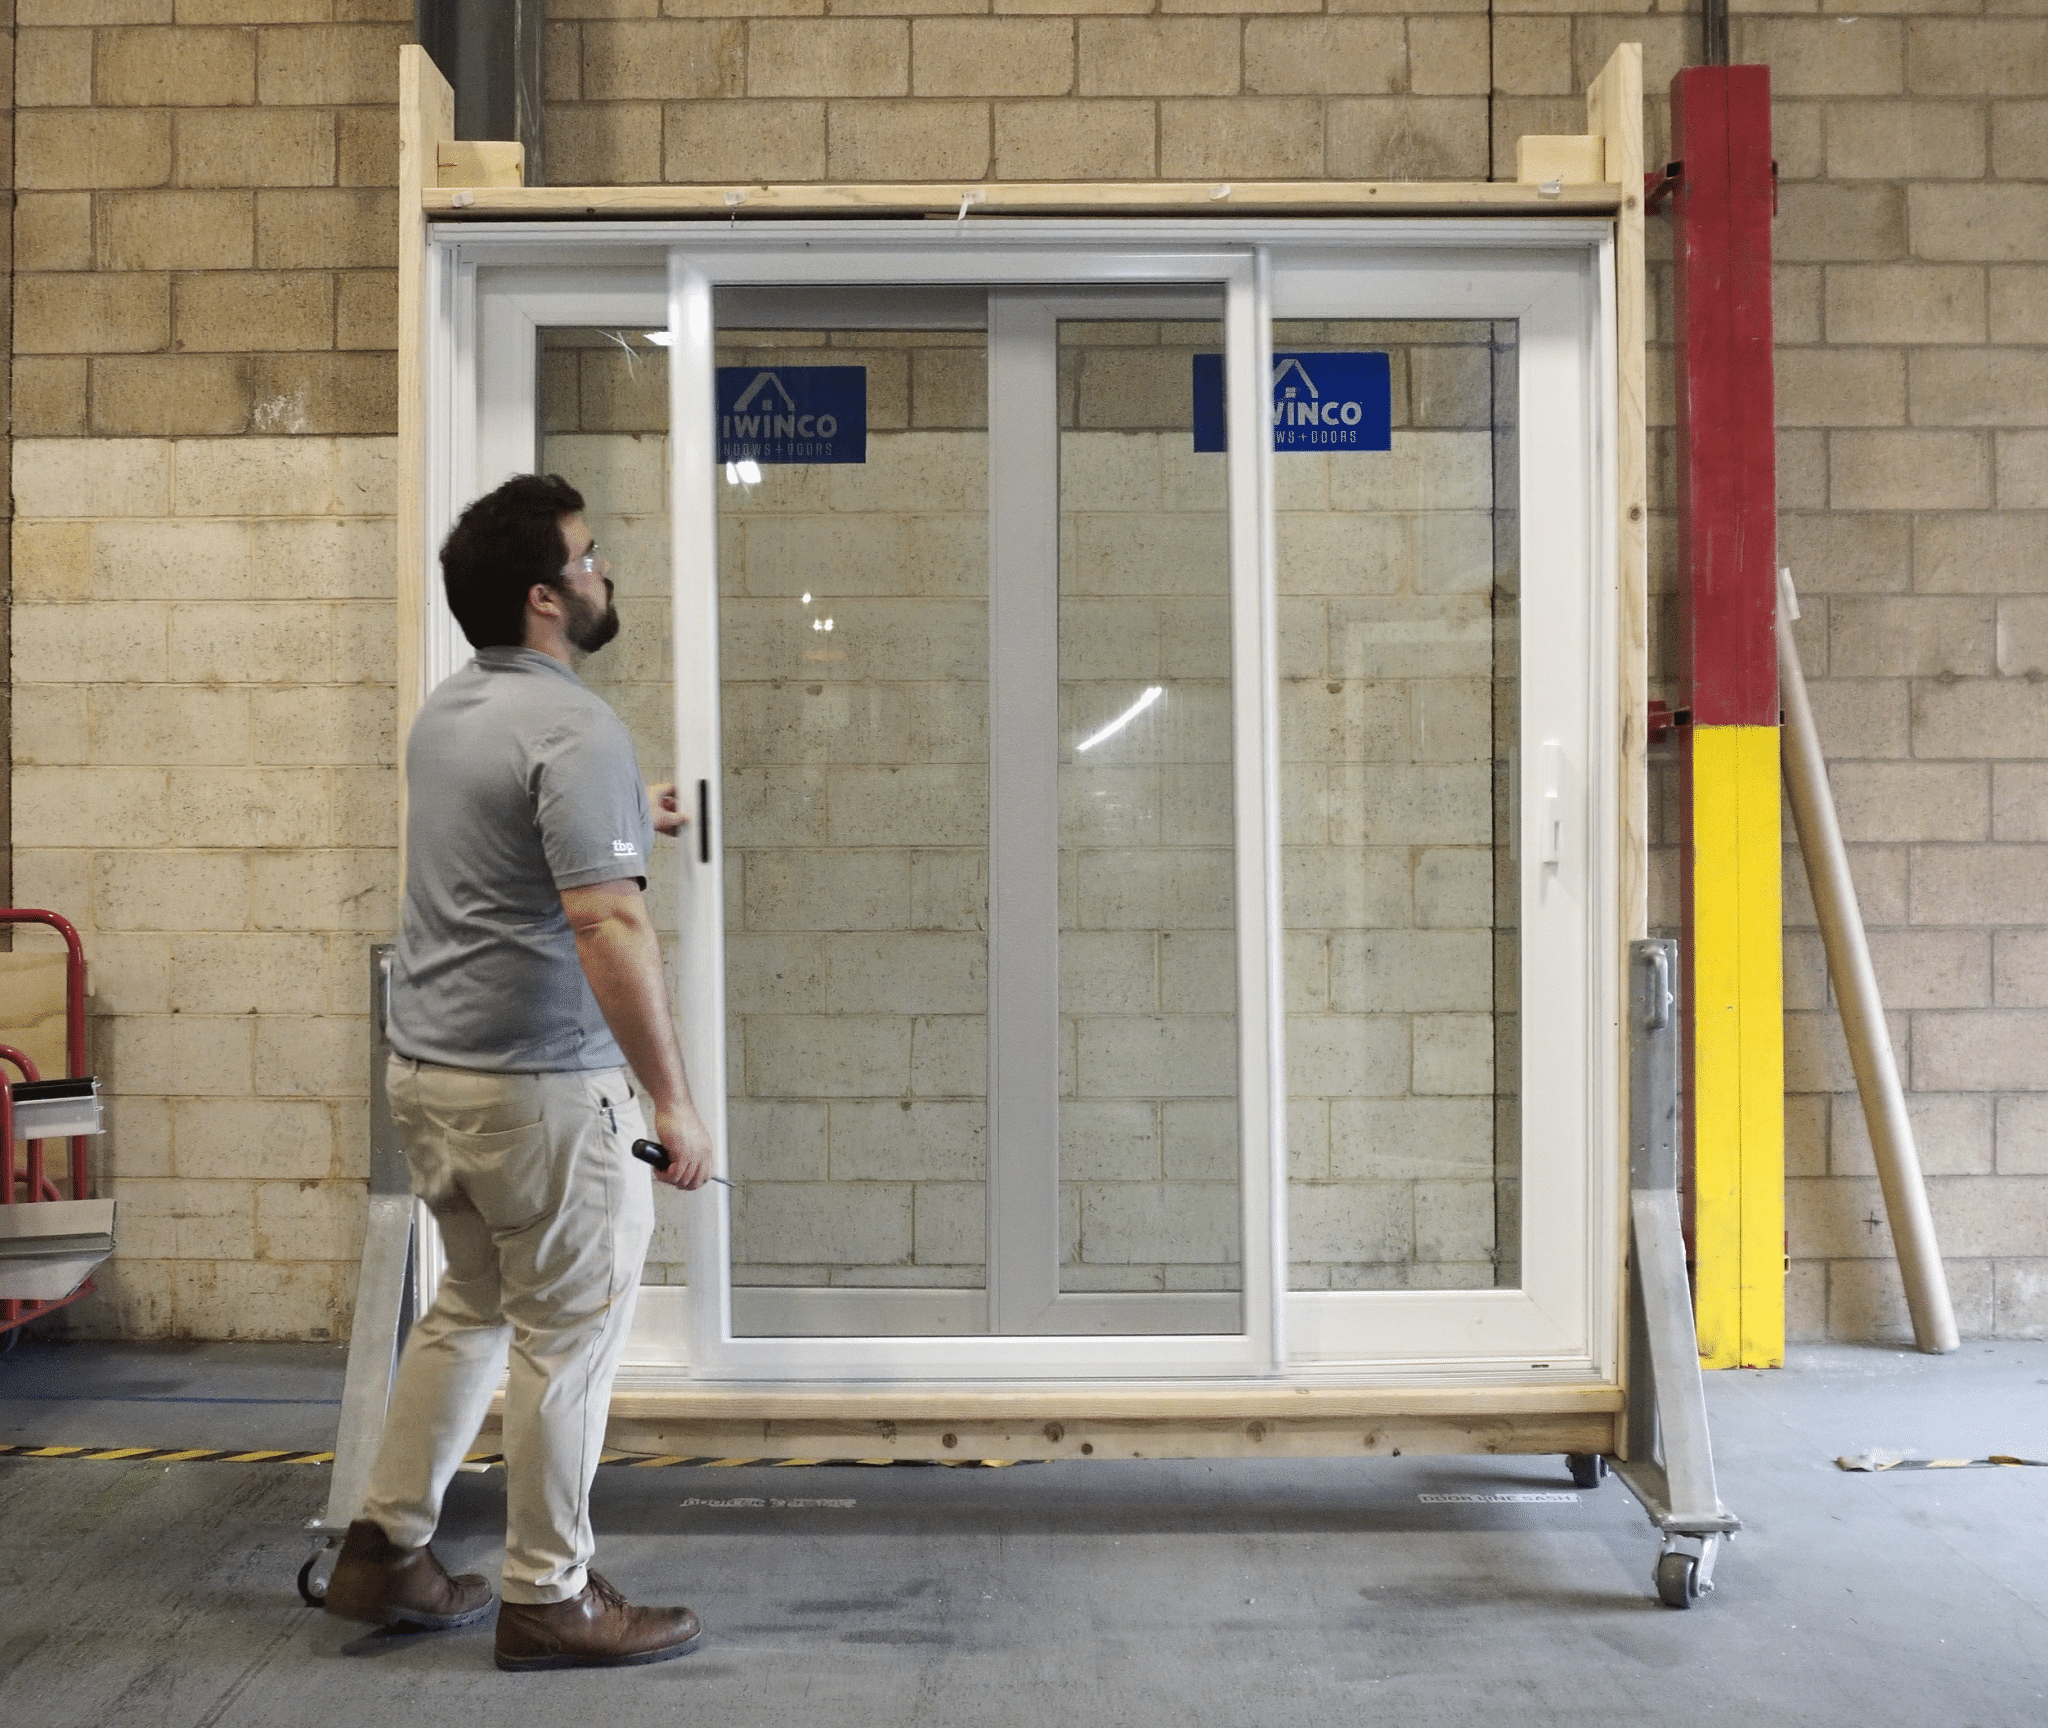
Installing the screen system on your 650 Patio Door is a straightforward process—starting with assembling the frame, mounting the tracks, and installing the screen panels.
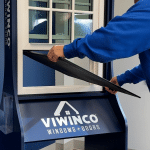
This procedure is intended for installation by professionals and service technicians who need to remove the top sash of a Viwinco single-hung window.
Supplies Needed:
- #2 Phillips Head Screwdriver
- #8 Flathead Screwdriver
Frame Assembly
Before getting started, inspect all frame parts, screens, and hardware components for damage.
Then, verify that all parts are included by comparing the contents to the included packing list.
Start by adding the frame corner key to both ends of the sill track.
Then, assemble the frame and screw the #8 1/2 PH PN head screws through the pre-drilled holes in the side jamb and sill tracks.
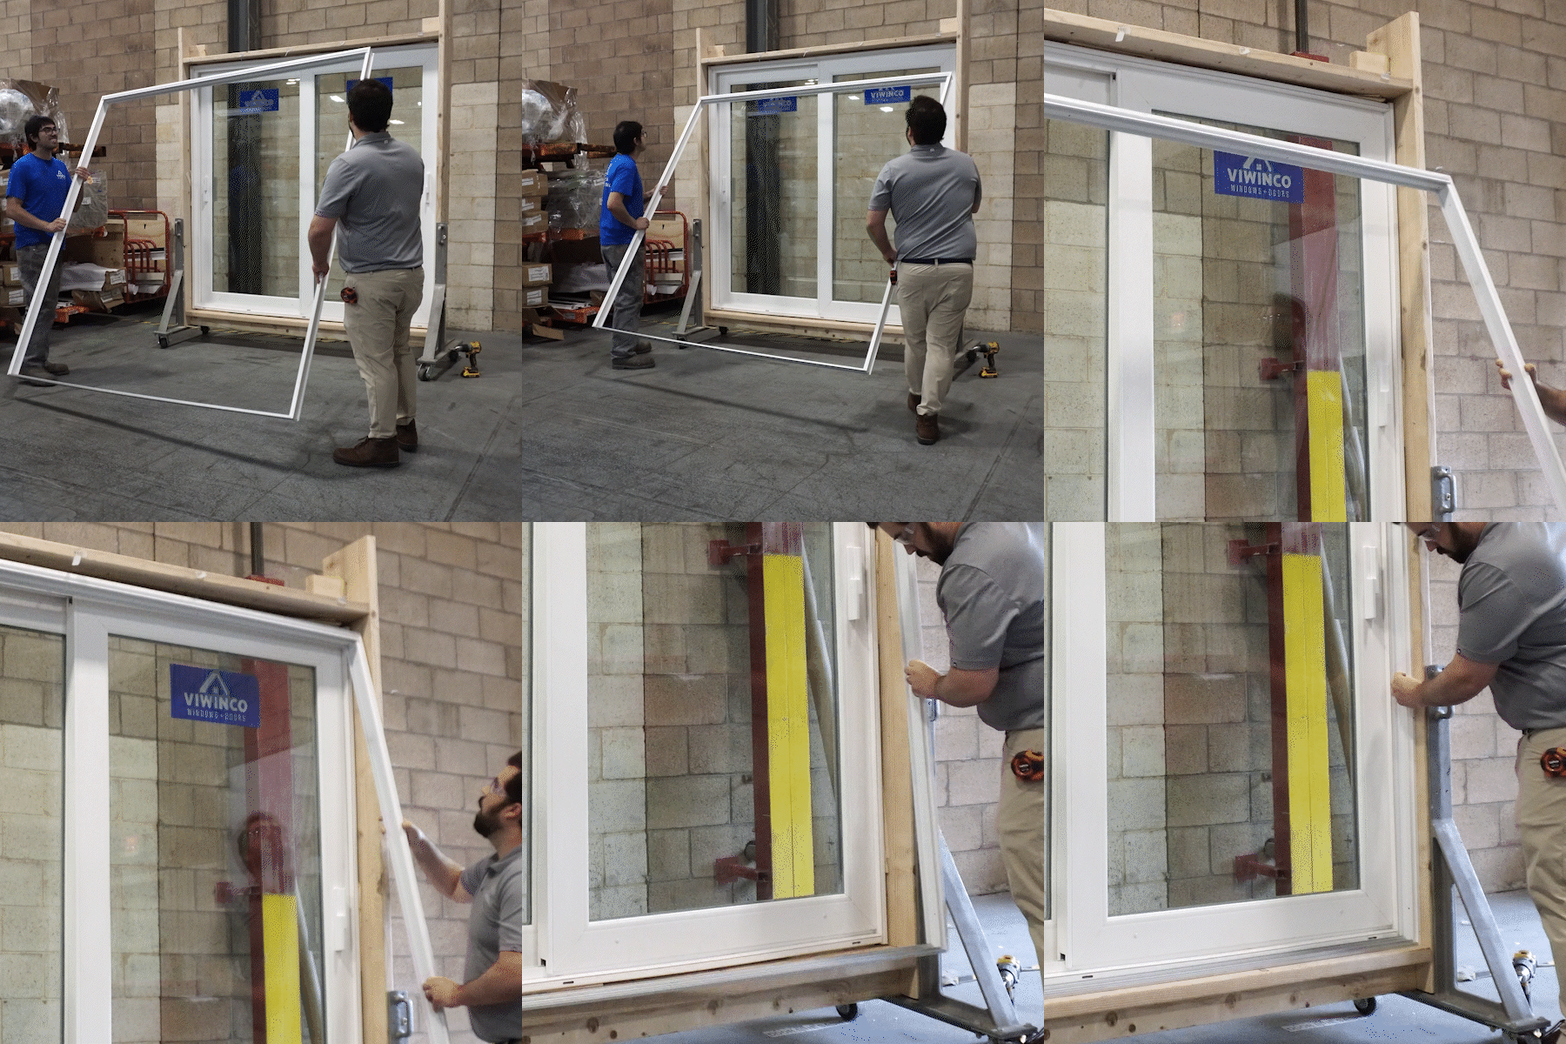
Once assembled, lift the screen track frame into the opening. Ensure that the interior surface rests flush with the 650-door frame.
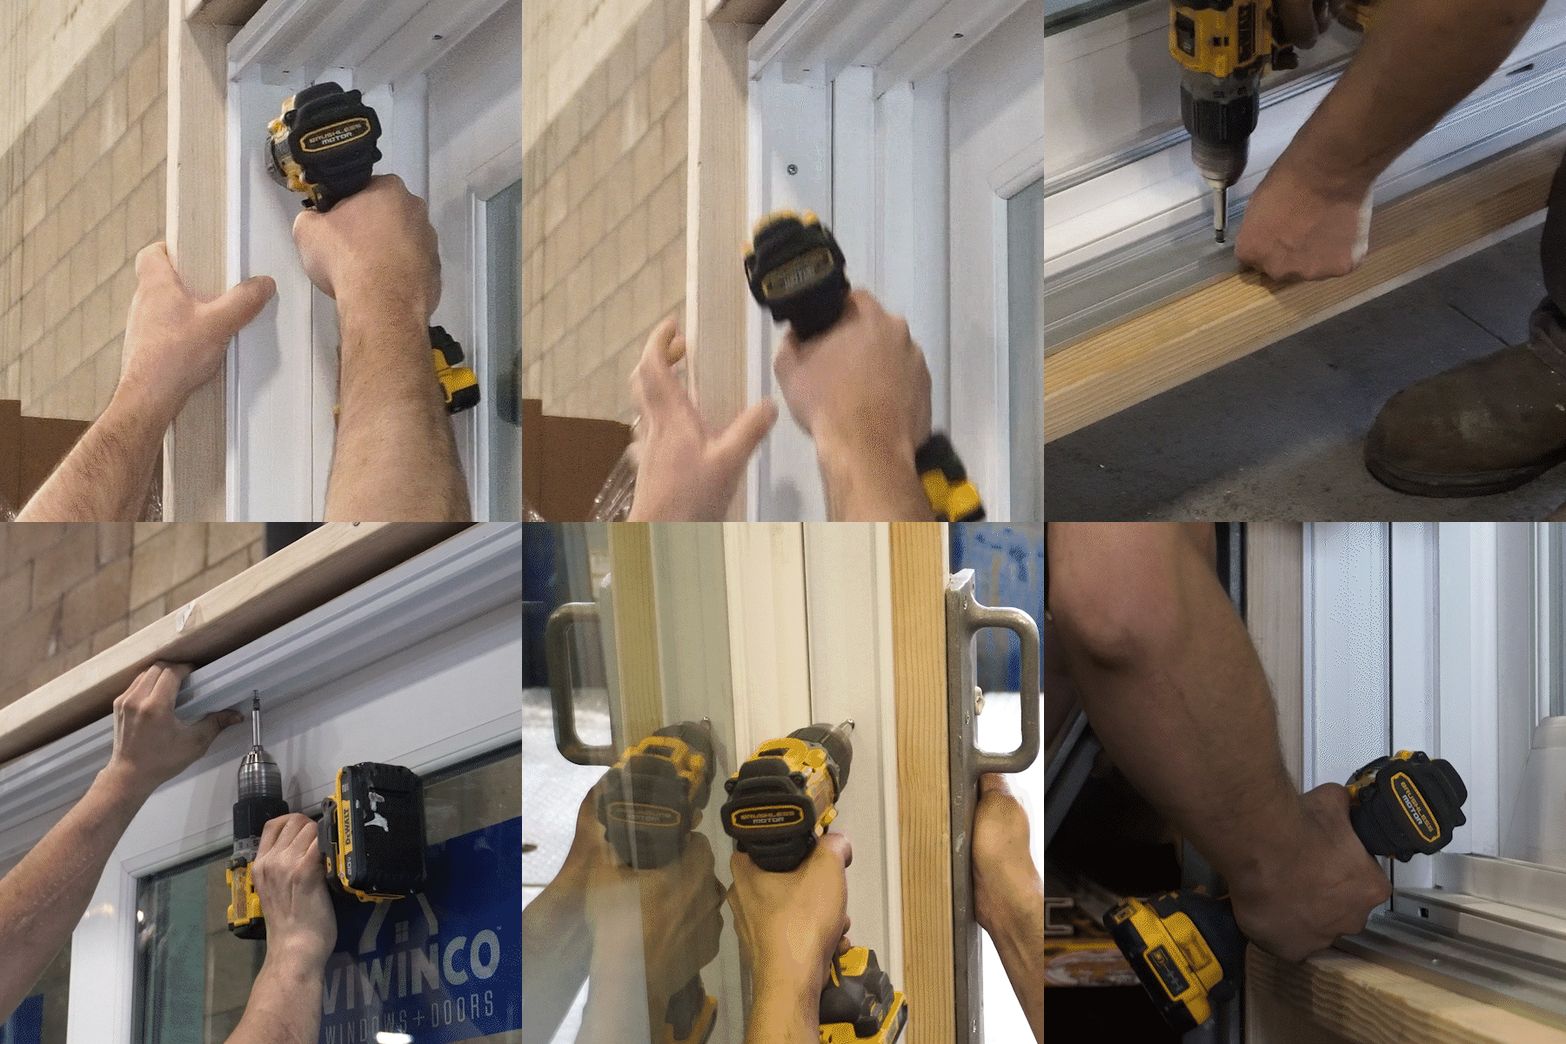
Fasten the screen track to the 650-door opening, starting with the top corner.
Before fully installing the frame, ensure that the frame is plumb, level, and square.
Then, finish fastening the screen track to the 650-door opening through every pre-drilled hole.
Screen Installation
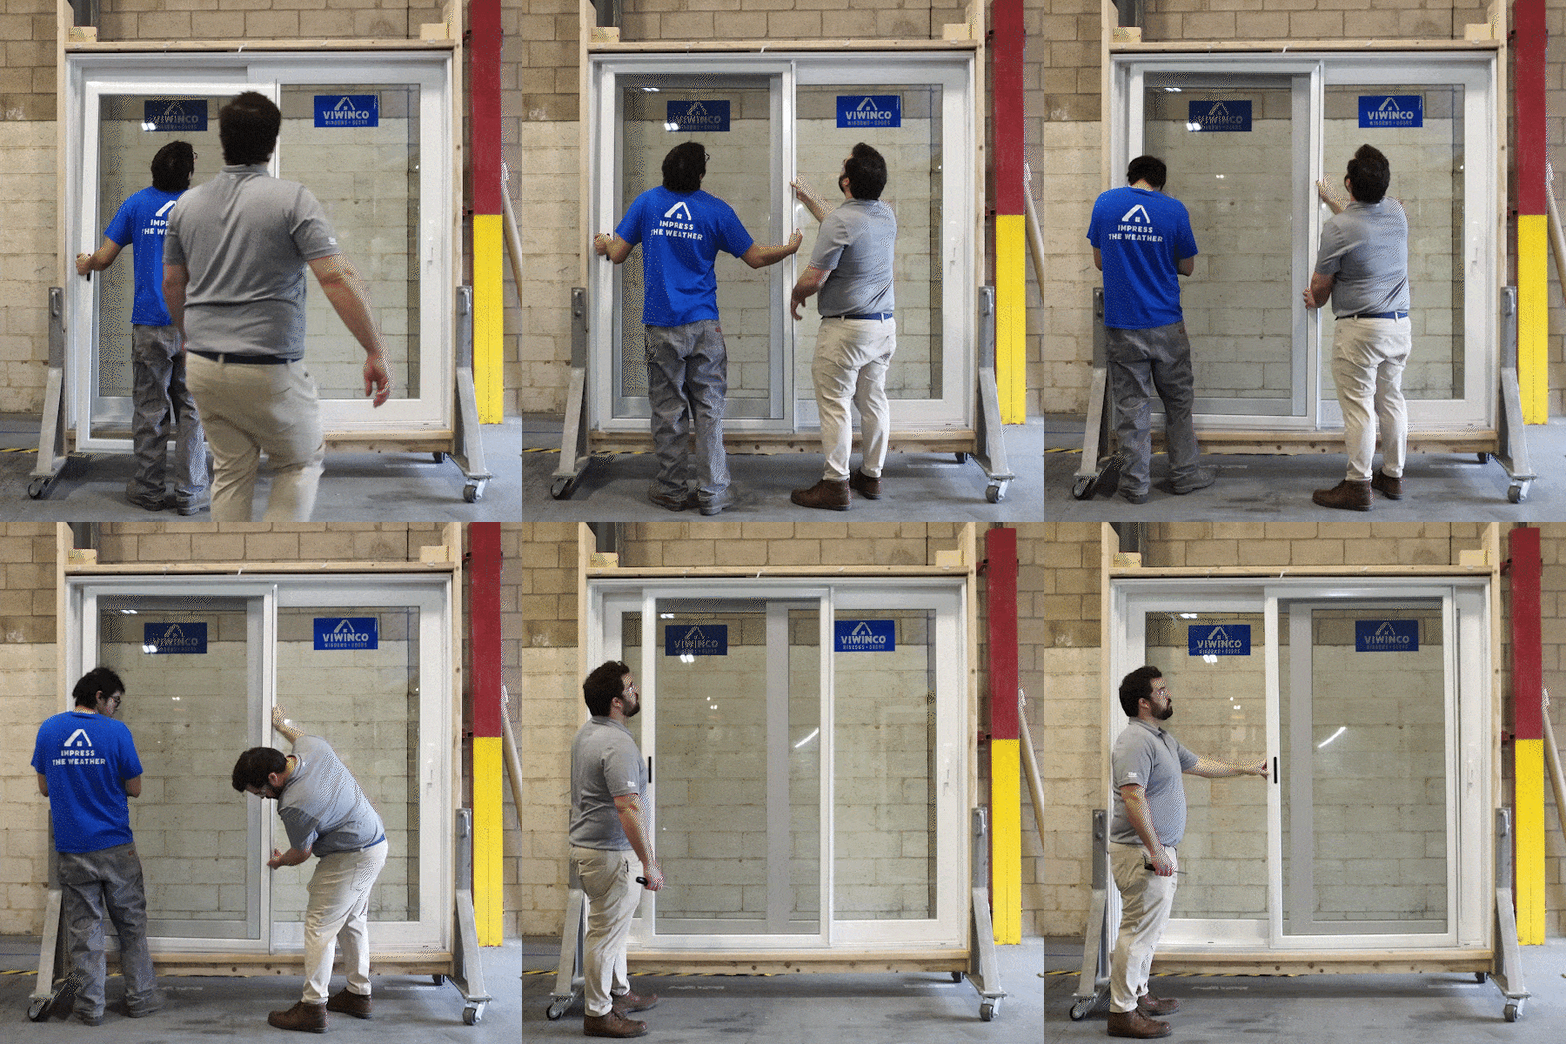
From the exterior, tilt the screen inward so the top of the screen aligns with the inner most track in the screen frame head.
Lift the screen so that it engages the head track and pushes the rollers in, then, lower the screen onto the inner most roller track. Ensure that the rollers are centered on the track.
Roll the screen to each side of the frame to check for alignment issues. Make any necessary adjustments to the screen rollers.
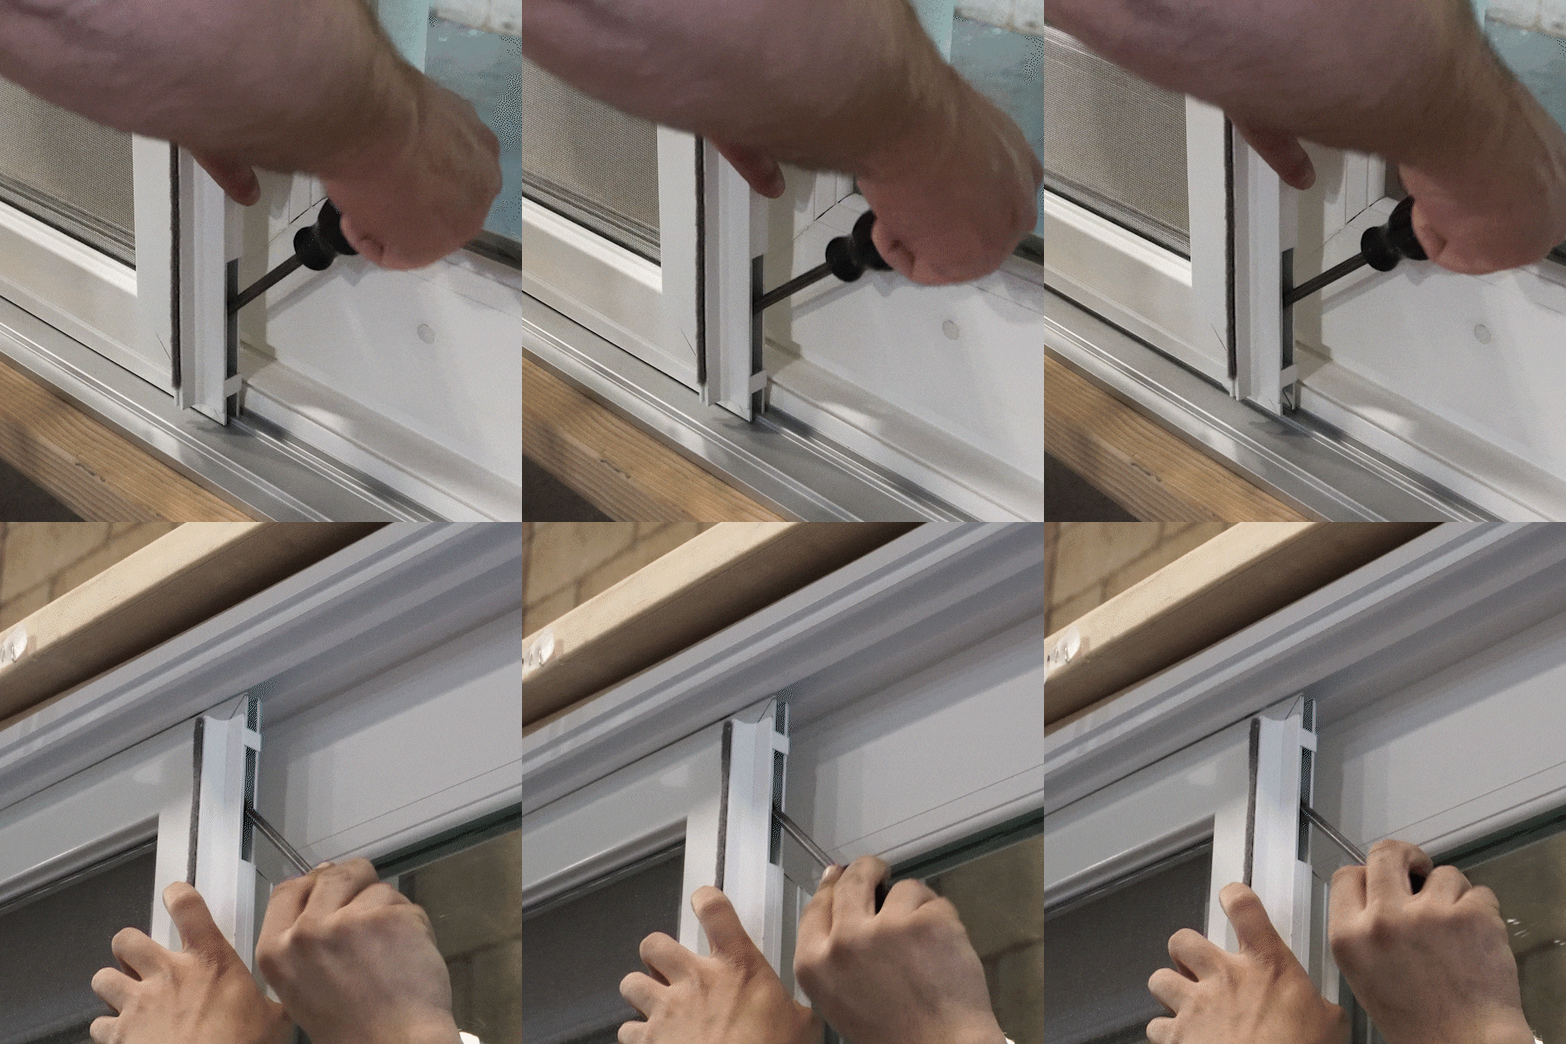
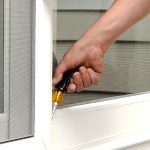
Top and bottom rollers can be adjusted by turning the roller adjustment screws located on the edges of the screen.
Turning the screw clockwise raises the rollers. Turning the screw counterclockwise lowers the rollers.
When finished adjusting, slide the screen where it would be located when in the closed position. From there, you can add additional screens.
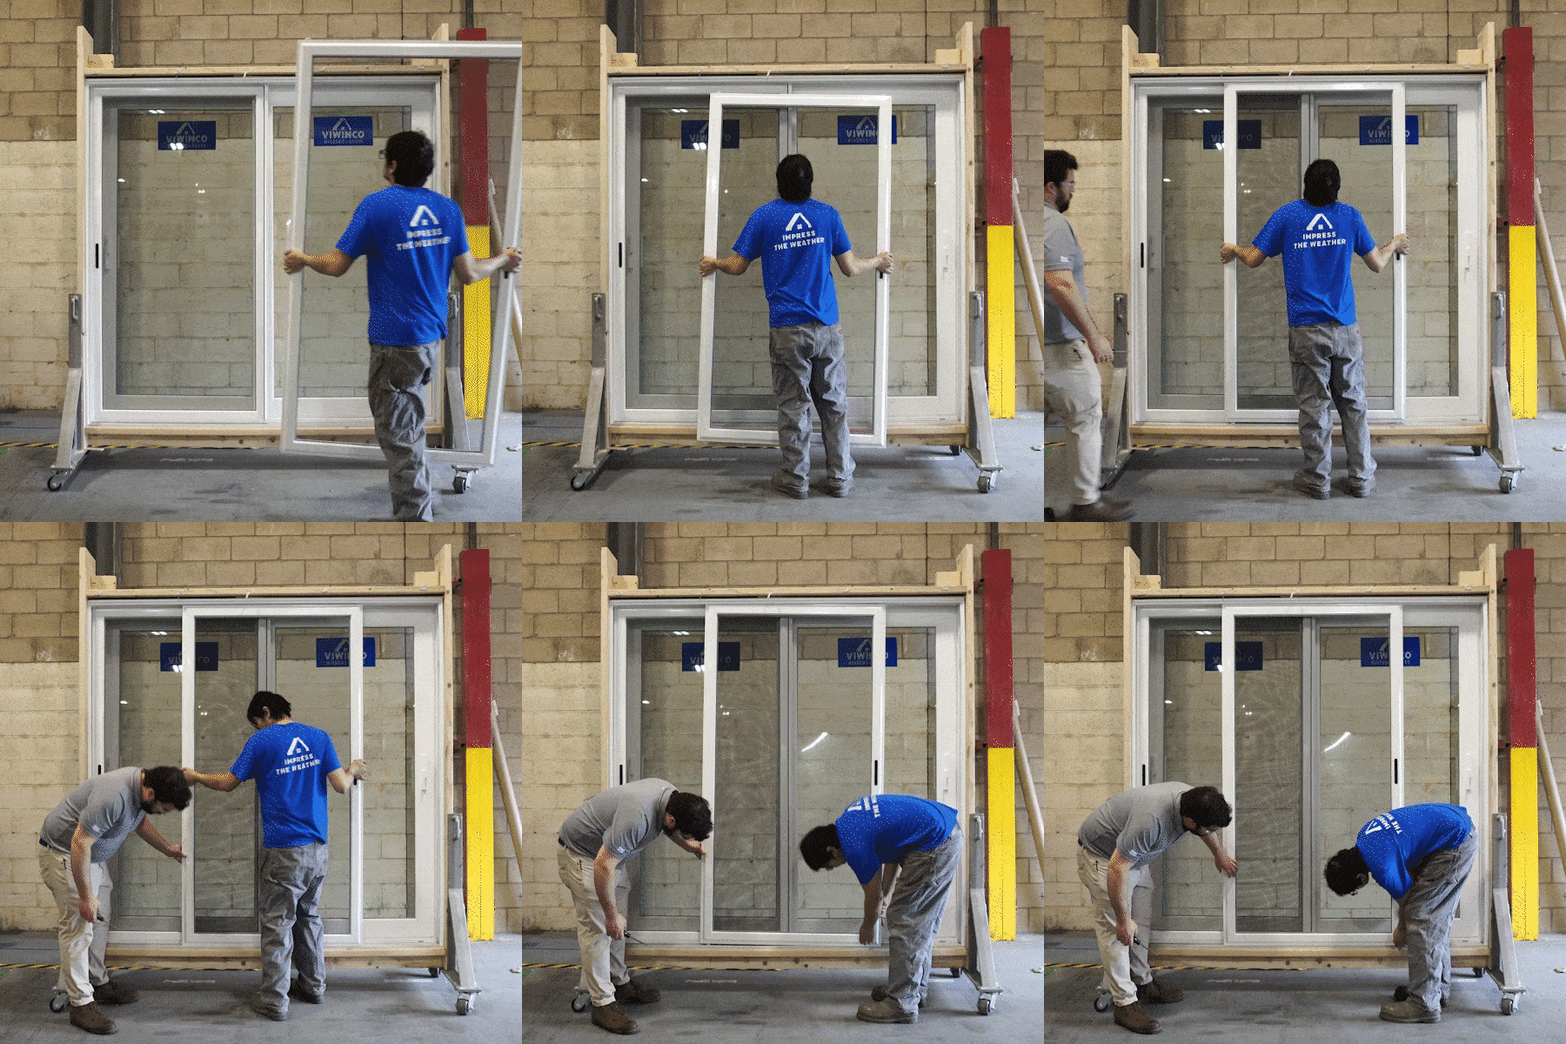
When adding additional screens, make sure to overlap the screen you are currently installing with the previously installed screen to ensure screen interlocks are positioned properly.
Panel Strike Installation
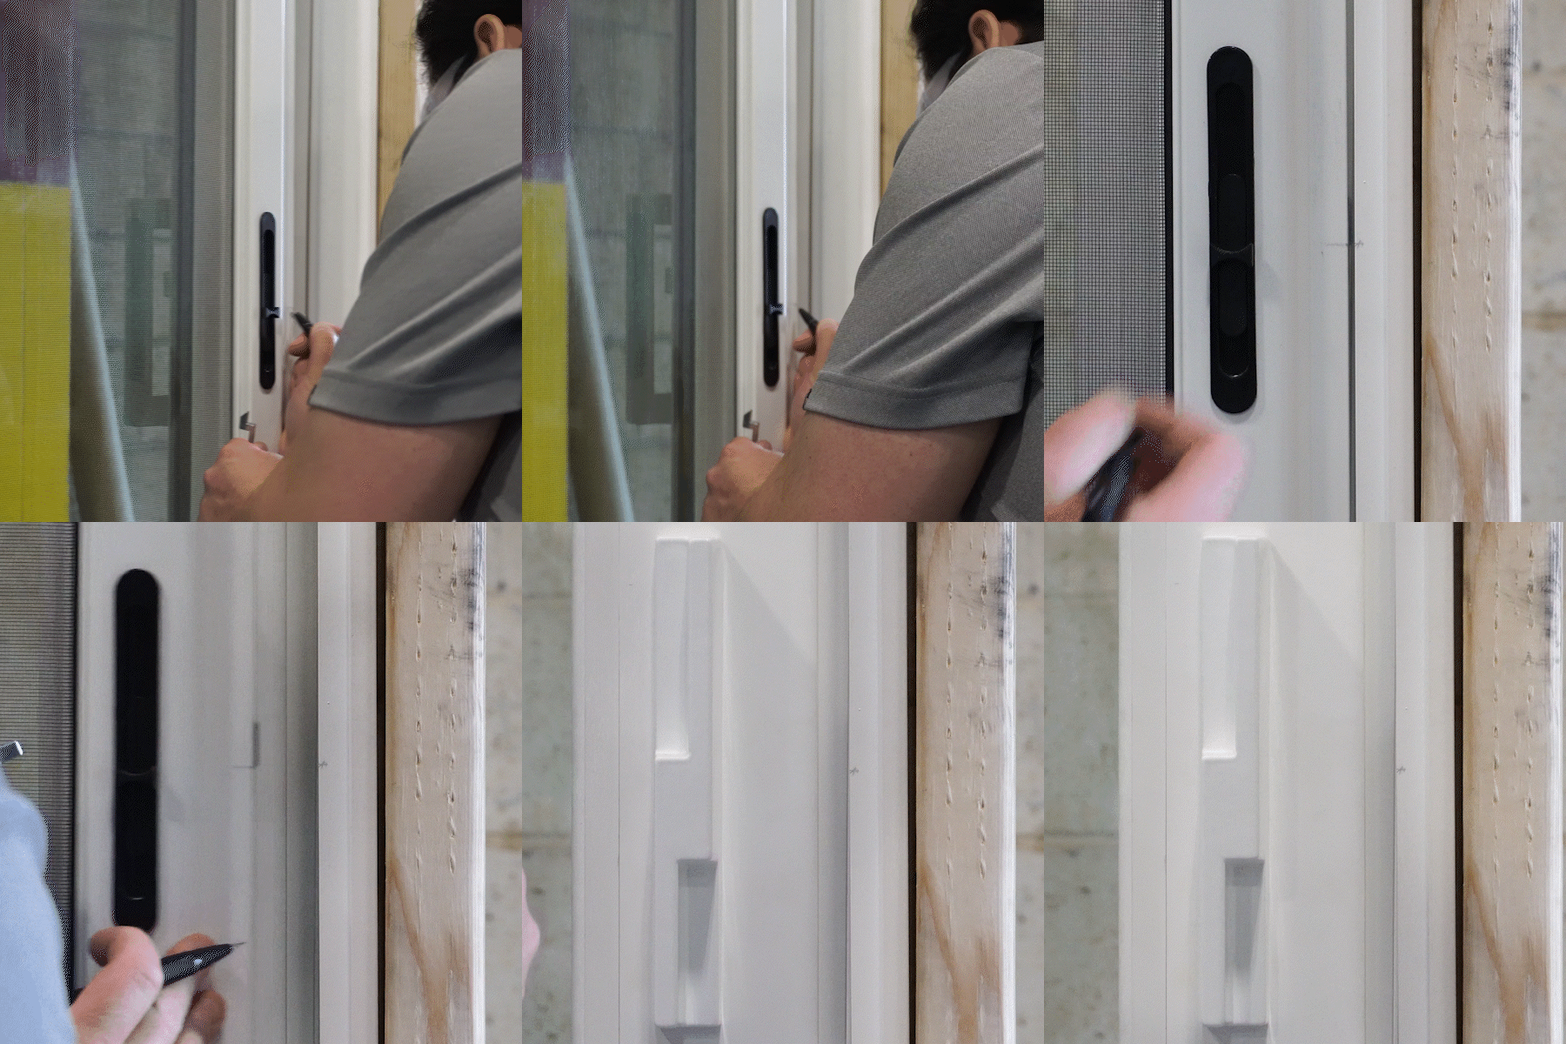
When finished installing additional screens, it’s time to install the patio screen panel strike.
Close the screen into the door frame jamb and make a mark where the center of the screen door handle meets the 650-door frame.
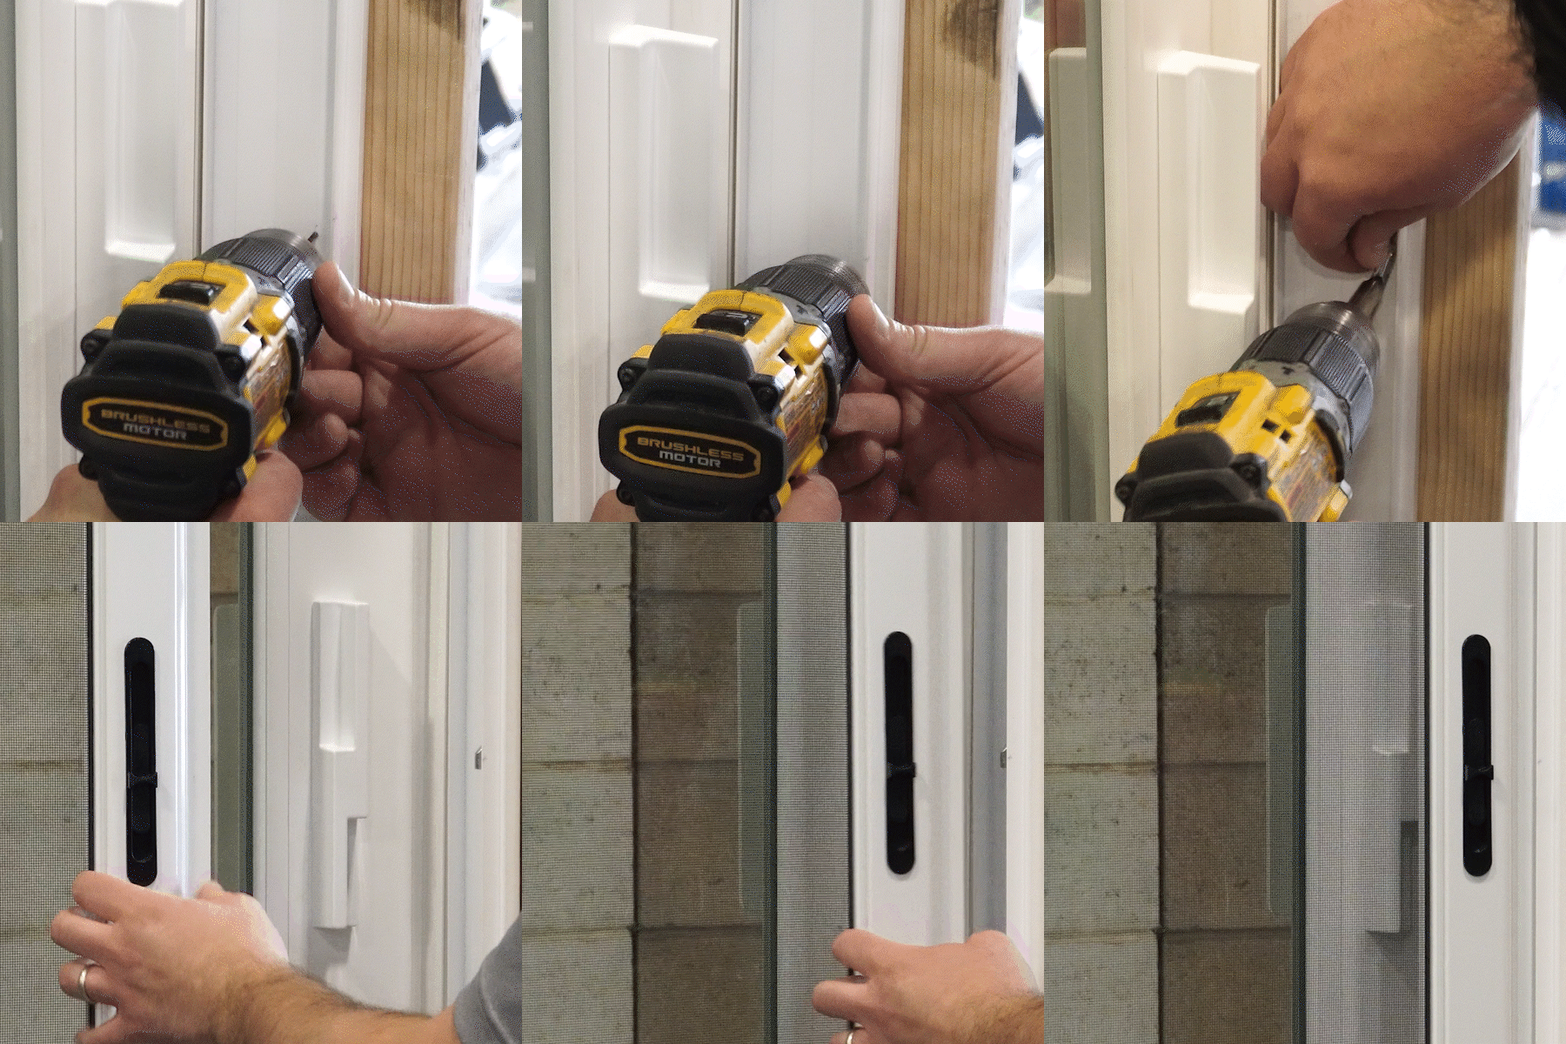
Then, drill (2) 1/16″ diameter holes into the frame to install the strike.
Adjust the strike so that it latches properly before tightening strike screws.
If you have any questions about assembling your 650 Patio Door screen, our customer service team is here to help. For troubleshooting, maintenance tips, or product support, contact our customer service at 800-927-2848.